How to Install & Configure Nginx on Ubuntu 21.04

John on October 26, 2021
Nginx is a high-performance HTTP server, reverse proxy and load balancer. It can help improve the speed of web applications and provides advanced features for managing traffic accessing the server.
In this tutorial, we will learn how to install the latest version of Nginx on Ubuntu 21.04.
Before beginning, make sure that Apache is not installed on the server and no other software is running on port 443 or 80. You must also have sudo privileges on the server.
Update System and Install Nginx
Let's begin by updating the Ubuntu package manager and installing Nginx. Open a terminal and run the following commands to complete this operation:
sudo apt update
sudo apt install nginx
Once complete, check your Nginx version using the following command:
sudo nginx -v
nginx version: nginx/1.18.0 (Ubuntu)
Now run the following systemctl command to check Ngnix is running:
sudo systemctl status nginx
● nginx.service - A high performance web server and a reverse proxy server
   Loaded: loaded (/lib/systemd/system/nginx.service; enabled; vendor preset: enabled)
   Active: active (running) since Tue 2021-10-05 20:47:25 UTC; 2 weeks 6 days ago
   Docs: man:nginx(8)
  Main PID: 796 (nginx)
   Tasks: 3 (limit: 8090)
   Memory: 22.1M
   CGroup: /system.slice/nginx.service
       ├─ 796 nginx: master process /usr/sbin/nginx -g daemon on; master_process on;
       ├─11576 nginx: worker process
       └─11577 nginx: worker process
Configure the Firewall
The next step is to configure the UFW firewall to allow connections to Nginx via HTTP (port 80) and HTTPS (port 443).
sudo ufw allow 'Nginx Full'
Now verify Nginx is allowed through the firewall with the following command:
sudo ufw status
Status: active

To Action From
-- ------ ----
OpenSSH ALLOW Anywhere
...
Nginx Full ALLOW Anywhere
...
Nginx Full (v6) ALLOW Anywhere (v6)
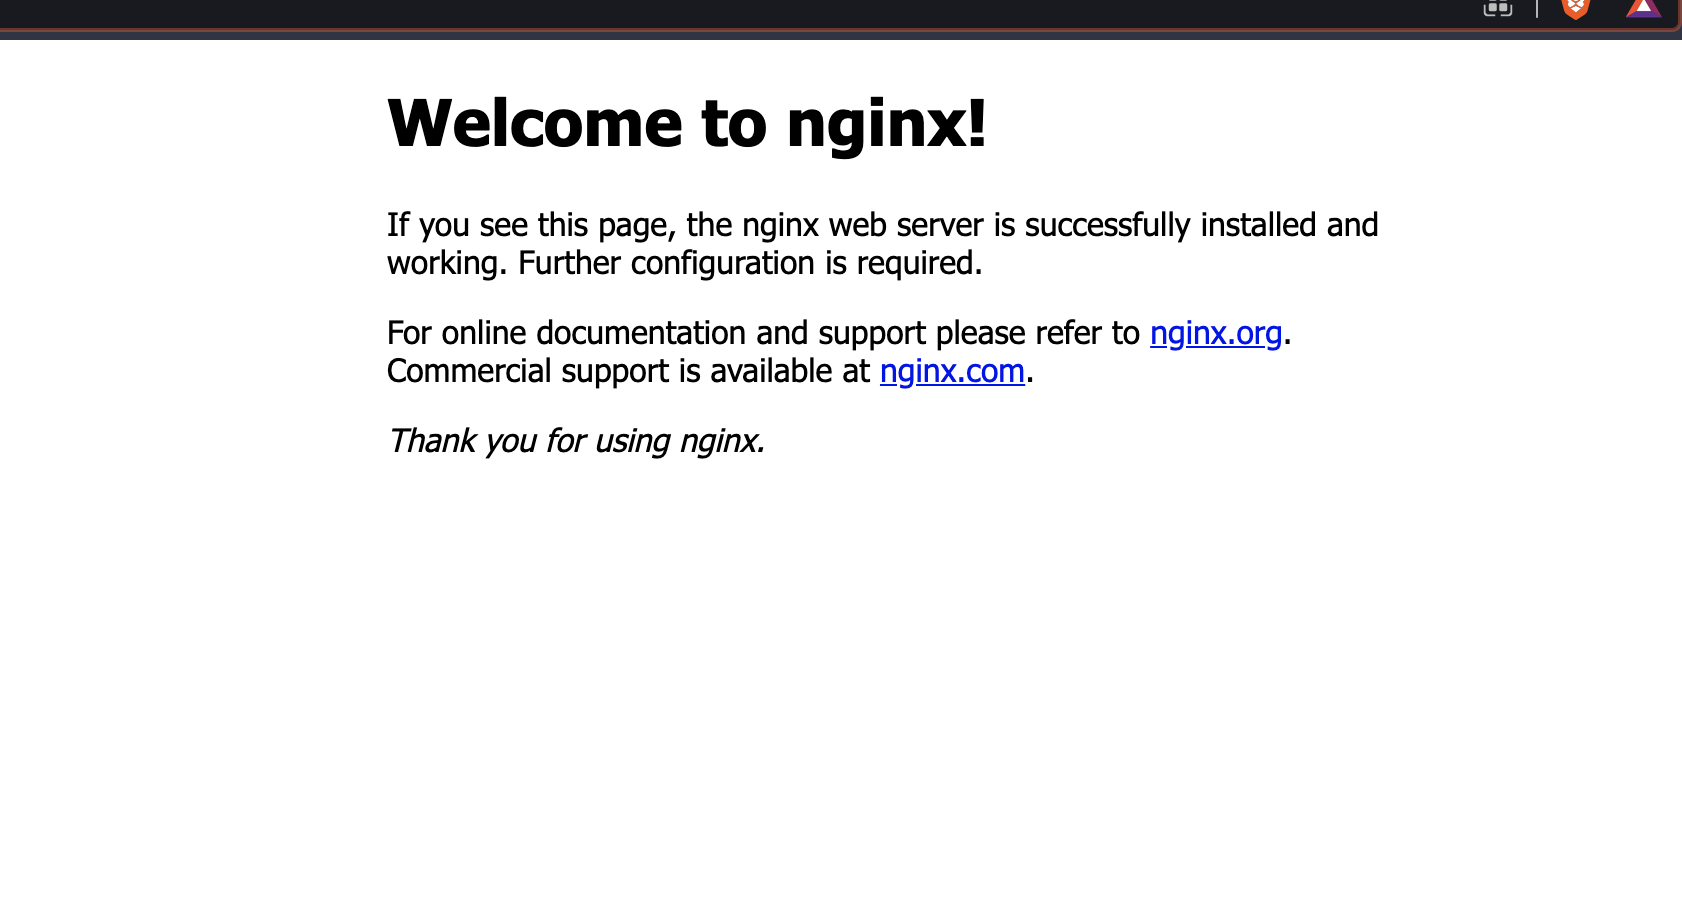
Test Nginx is Working with a Browser
Now you should be able to open a browser, go to the IP address of the server and get an Nginx welcome message.
Manage Nginx Service
Check out this tutorial on how to start, stop and restart the Nginx service.
That's it! You are now ready to start creating Nginx server blocks and configuring sites.
If you have a Django app please read my tutorial on how to deploy Django with Nginx and Gunicorn.
If you have a Laravael app, please read my tutorial on how to deploy a Laravel app to a live Nginx server.