How to Install Laravel 7

John on May 21, 2020
This is a guide to installing Laravel 7 in the most simple way possible. Before you begin installing Laravel 7 you need to make sure that your server has PHP 7.2.5 or above and PHP has the following extensions enabled:
- Mbstring PHP Extension
- OpenSSL PHP Extension
- PDO PHP Extension
- Tokenizer PHP Extension
- Fileinfo PHP extension
- Ctype PHP Extension
- XML PHP Extension
- BCMath PHP Extension
- JSON PHP Extension
You will also need to install Composer as Laravel uses this to manage updates and installing third-party packages.
Download with Composer
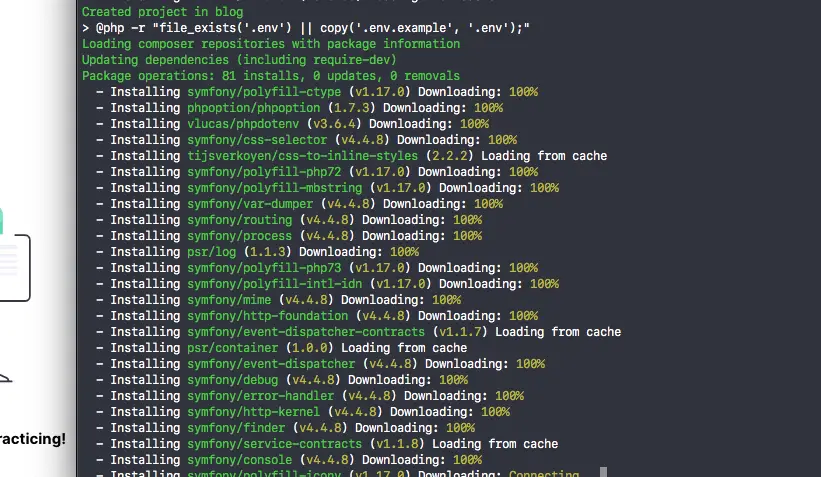
To download and create a new Laravel 7 project type in the following composer command from the directory in which you wish Laravel to be installed:
composer create-project --prefer-dist laravel/laravel blog
The last part of the command "blog" is the name of the folder that Laravel will installed in. Hit enter and the dependencies will begin to download.
Setting the Application Key
Next you should generate a unique application key for your project.
Change directory to the base path of Laravel:
cd blog
Then generate the key:
php artisan key:generate
Setting Directory Permissions
You will need to change the storage and bootstrap/cache directories so that they are writable by PHP (www-data).
Recursively change the group ownership to www-data:
sudo chgrp -R www-data storage bootstrap/cache
Then set read write and execute permissions:
sudo chmod -R ug+rwx storage bootstrap/cache
Configuring the SQL Database Connection
If you intend to use a database with your project you can add the credentials in the .env file located in the Laravel base directory:

Nginx Server Block
If your server is Nginx you can add this location parameter within your server block to point all requests the index.php file:
location / {
  try_files $uri $uri/ /index.php?$query_string;
}