How to Stop DDOS Attacks & Prevent Future Downtime

John on August 26, 2020
DDOS attacks are very common and can be ruinous for any website. Regular DOS (Denial of Service) attacks are relatively easy to fix since you will probably only have to block a handful of IP addresses from accessing your server, however, DDOS attacks are more problematic to deal with.
Distributed Denial of Service attacks use thousands of “drone” computers as part of a botnet to bombard your server with millions of bogus requests, crushing its ability to serve real users. They are hard to block because often each IP is set to make just a few dozen requests per minute, mimicking the behaviour of a real user.
In this tutorial, we will go through how to fix your server and get your website back online during a DDOS attack and what we can do to prevent future downtime.
It's important to note that there is nothing that can be realistically done to stop malicious requests being pointed at your server. The trick is to dampen their effectiveness, dissuading the attacker(s) from continuing trying to take your site down.
Cloudflare Under Attack Mode
If you are not using Cloudflare to protect your sites against DOS attacks you probably should be. DDOS attacks are for the most part going to pass straight through Cloudflare, though their asset caching features will save your bandwidth. There is a feature called Under Attack Mode, this will check every new visitor's browser and give them a security challenge before accessing your site.
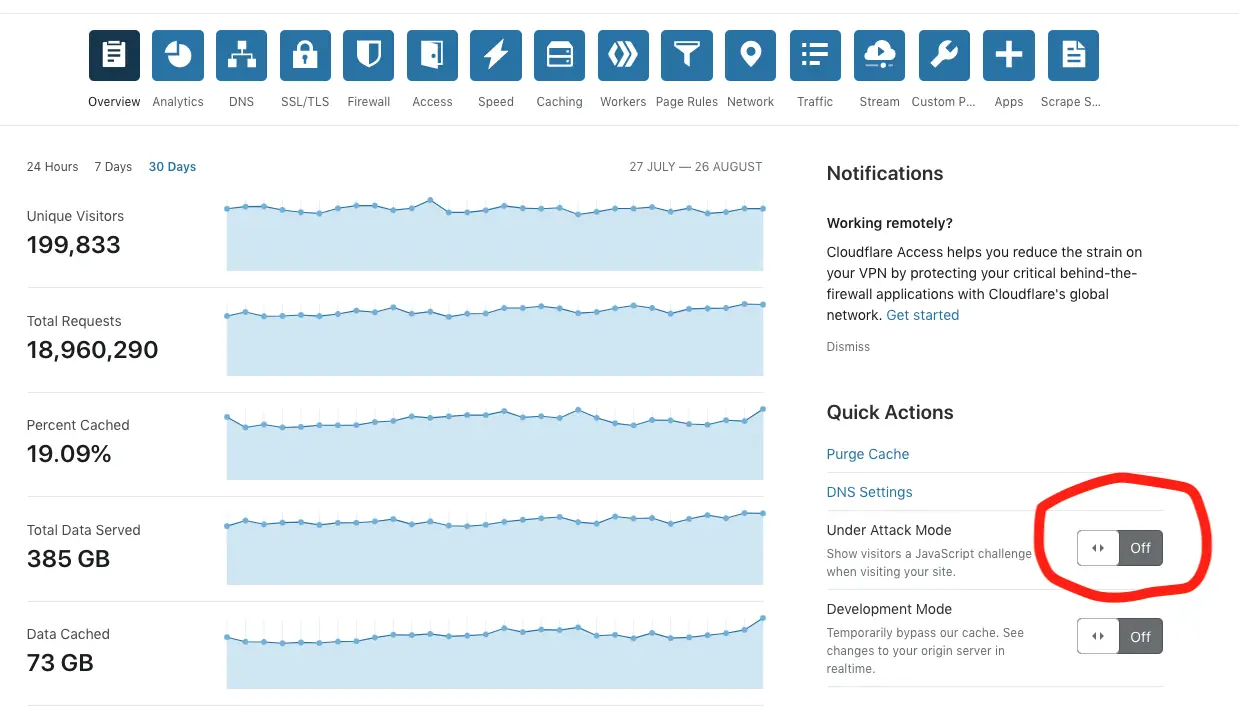
Enabling this should get your server back online so you can implement changes on your server before disabling Under Attack Mode.
Cache Database Queries
You need to make sure your app is making no unneeded calls to its SQL database. This will remove MySQL from the equation, which is important since heavy MySQL queries will quickly hang and take down your server. If you are using WordPress there are plenty of plugins that you can install and implement right away.
If you are using an application framework such as Ruby on Rails or Laravel check out the caching functionalities they have and implement them on database queries. There is a caching guide on Ruby on Rails here. Below is an example of using the Cache class in Laravel to cache dynamic queries.
public function whereFirstorFail($attributes)
{
  return \Cache::rememberForever('format-'. $attributes['value'], function () use ($attributes) {
    return Format::where($attributes['column'], '=', $attributes['value'])->with('sample')->with('category')->firstorfail();
  });
}
You can read more about caching in Laravel here.
Optimise Server-side logic
If requests in your application use a lot of memory you will want to have a look at optimising them. When I am developing applications in Laravel I use a handy tool called PHP Debugbar, which shows how much memory, SQL queries among other data that a page uses to load.
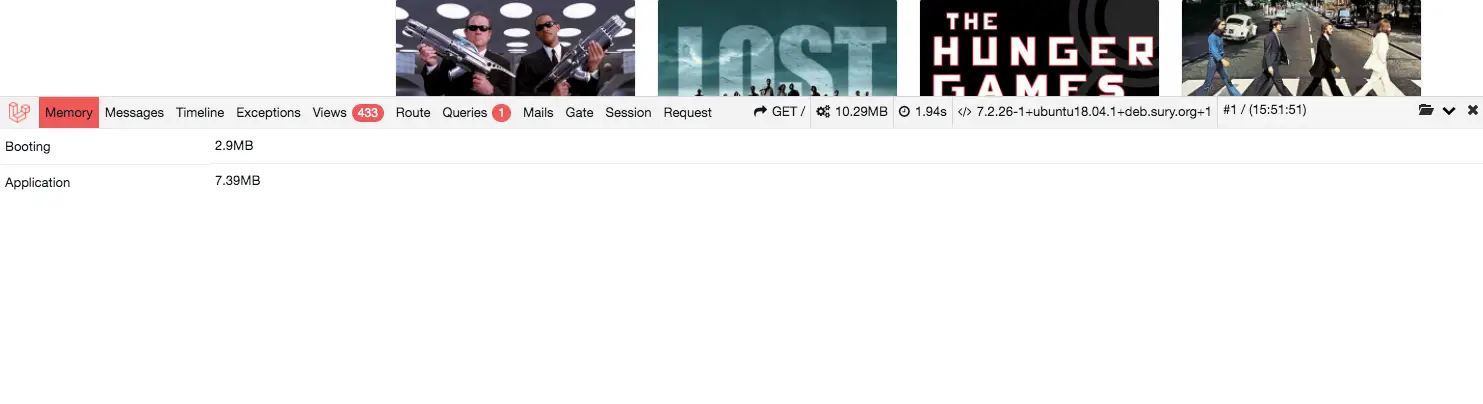
Having efficient backend logic on your application will reduce resource usage and help your server withstand DDOS attacks.
Limit the Number of Requests Per IP in Nginx
Limiting the number of requests an IP can make per minute can really dampen the effects of a DDOS attack. Let's have a look at how we can implement this on a server block in Nginx.
Once you have ssh'd into your server, type the following command, replacing example.com with the name of your sites configuration name.
sudo vim /etc/nginx/sites-available/example.com
This will open your sites Nginx config file in Vim. If you never have used Vim before check out my tutorial on how to open and save files in Vim and useful Vim commands.
Enter this line before the first server { } block.
limit_req_zone $http_x_real_ip zone=one:10m rate=30r/m;
Then add limit_req inside the location section of your main server {} block.
limit_req zone=one;
The whole thing should look something like this:
limit_req_zone $http_x_real_ip zone=one:10m rate=30r/m;

server {
    # ...
    location / {
        limit_req zone=one;
    # ...
    }
}
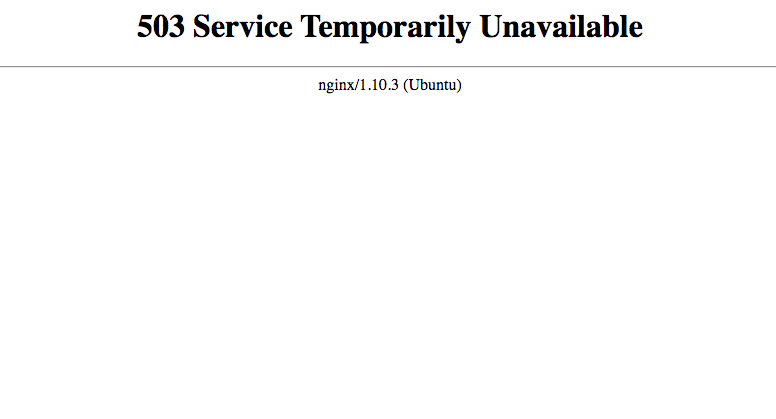
What the above tweak does is limit an IP address to 30 requests a minute or, 0.5 a second. If these limits are exceeded the request will be cancelled and a 503 error will be thrown:
note - I am using http_x_real_ip to get the origin IP address.
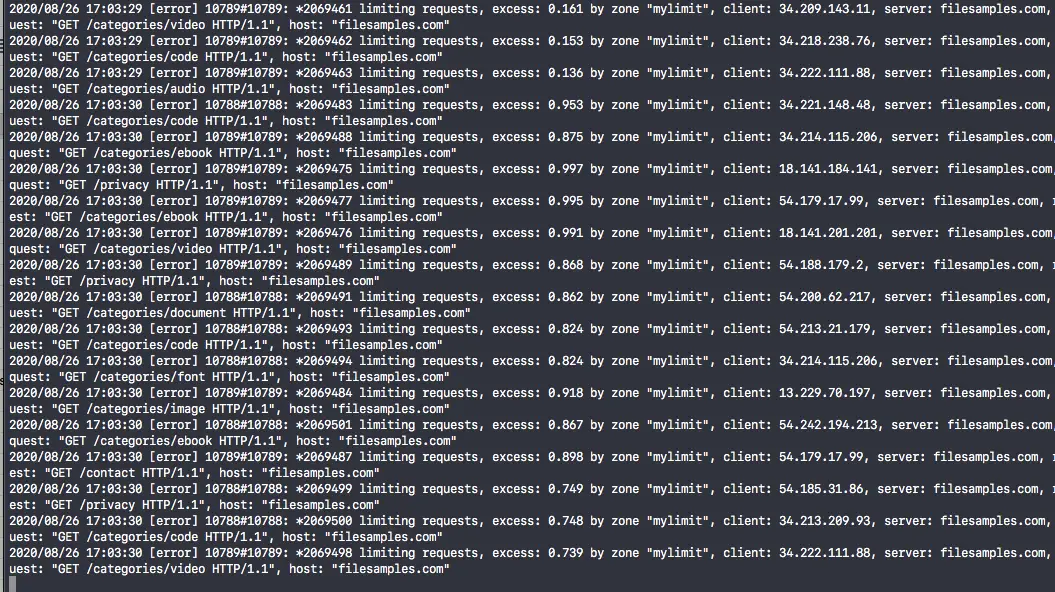
You can check to see if bad requests are being cancelled by tailing the Nginx error log from the terminal:
sudo tail -f /var/log/nginx/error.log
If it is working you will see something like this:
You can also monitor how many spam requests are still getting through by tailing the Nginx access log like this, replacing “category" with a URI you often see the spam hitting:
sudo tail -f /var/log/nginx/access.log | grep " 200" | grep "category"
Limit Download Rate in Nginx
If the attackers are downloading large files from your server you can set a rate limit on a per IP basis in Nginx using limit_rate_after and limit_rate.
server {
    # ...
    location / {
        limit_rate_after 10m;
        limit_rate 300k;
    # ...
    }
}
The above example limits the speed of a download to 300 kilobytes per second after 10 megabytes have been downloaded. If an IP attempts to make two downloads larger than 10m both downloads will be limited to 150k.
Conclusion
As was mentioned at the beginning of the article there if a third party wants to send bogus requests to your server there is little you can do to stop them. The task is to stop the attack having an effect on your server and in time the attackers should give up. I hope this tutorial gave you some ideas to stop DDOS attacks causing downtime on your server.