Show Hidden Files on Mac

John on December 03, 2020

Some files are hidden in macOS by default. This could be due to the file beginning with a . (dot), for security reasons, to prevent them from getting deleted accidentally or simply to reduce clutter.
In this tutorial, we will learn how to show hidden files and hide them again in macOS in several different ways.
Using a Key Combination
The easiest way to show and hide hidden files is by using a key combination. First, open a Finder window and locate to a directory where you would like to reveal hidden files.
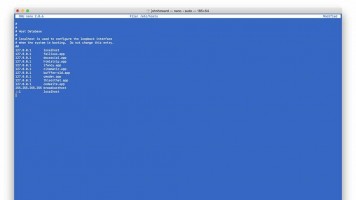
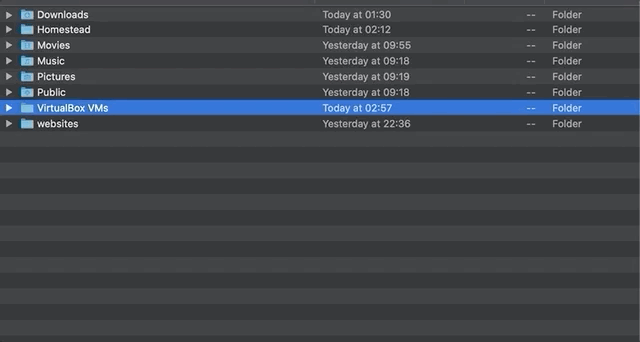
Now press and release CMD + SHIFT + . (dot) simultaneously. If there are any hidden files or folders in the directory they will appear partially transparent like this:
To hide hidden files again, use the same key combination.
How to Find the ~/Library Folder
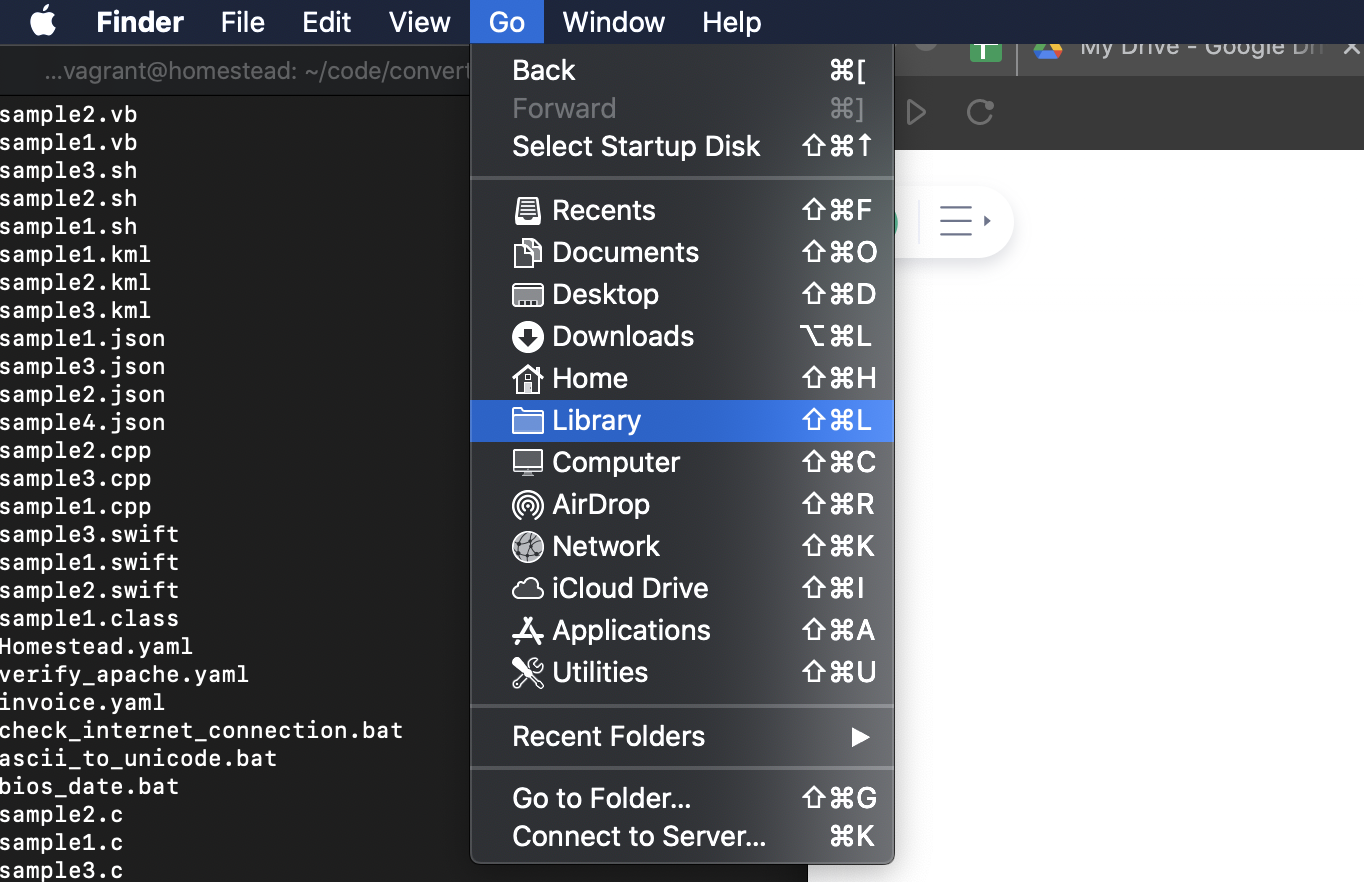
If you need to access the Library folder, which is hidden by default, open Finder and follow these steps:
- Press and release
CMD+SHIFT+.(dot) in a Finder window. - In the top left menu of Finder select -
Go > Library
Unhide Files using Terminal
It is possible to show hidden files using Terminal in macOS. Open a new Terminal window and paste the following command and hit ENTER:
defaults write com.apple.Finder AppleShowAllFiles true
If you want to hide files again use the same command but with false as the first argument:
defaults write com.apple.Finder AppleShowAllFiles false
Hide Files using Terminal
A powerful feature of using the Terminal method you can hide files that are visible by default – in other words any file you don't want others knowing about.
Open a Terminal window and type the following command replacing example.txt with the name of the file you wish to hide:
chflags hidden example.txt
Note – if your current working directory in Terminal is not the directory where the file is located you will need to move to the directory using the cd command, or supply a path to the file like so:
chflags hidden ~/Downloads/example.txt
Unhide Multiple Files in Terminal
To unhide files from within Terminal use the following command, replacing example.txt with the name/path of the file to change:
chflags nohidden example.txt
Using RegEx to Hide Files
The chflags command can be used with RegEx pattern matching to change multiple files that fit a specific criteria. Let's say we wanted to hide all .txt files in a directory, we could use the following command:
chflags hidden *.txt
Conclusion
You now know how to hide and unhide files on your Mac.