How to Take a Screenshot and Record Screen on Mac

John on May 29, 2020
Taking a screenshot is super useful for explaining what would take a long time in writing among many other things. In some cases recording a video of your Mac screen is an even better solution.
On this page, we will go through how to take a screenshot and record the screen on your Mac.
Taking a Screenshot
Taking a screenshot on your Mac is as simple as knowing a couple of keyboard shortcuts depending on how much of the screen you want to capture and the control you need in doing so.
To capture your entire screen use the keyboard combination:
Command + shift + 3.
This will save an image containing everything on your screen as a PNG image located on the desktop.
To capture a custom selection of your screen, use the keyboard combination:
Command + shift + 4.
Your cursor will turn into a selector which you can use to click and drag over the area of your screen you want to capture. When complete a PNG image will be saved to the desktop.
To capture a screenshot of a specific window, use the keyboard combination:
Command + shift + 5 + space
Your cursor will turn into a camera icon. You can over any window and after clicking a PNG of the window will be saved to the desktop.
Recording the Screen
You can record the screen on your Mac without having to download any extra software as QuickTime Player has this functionality already.
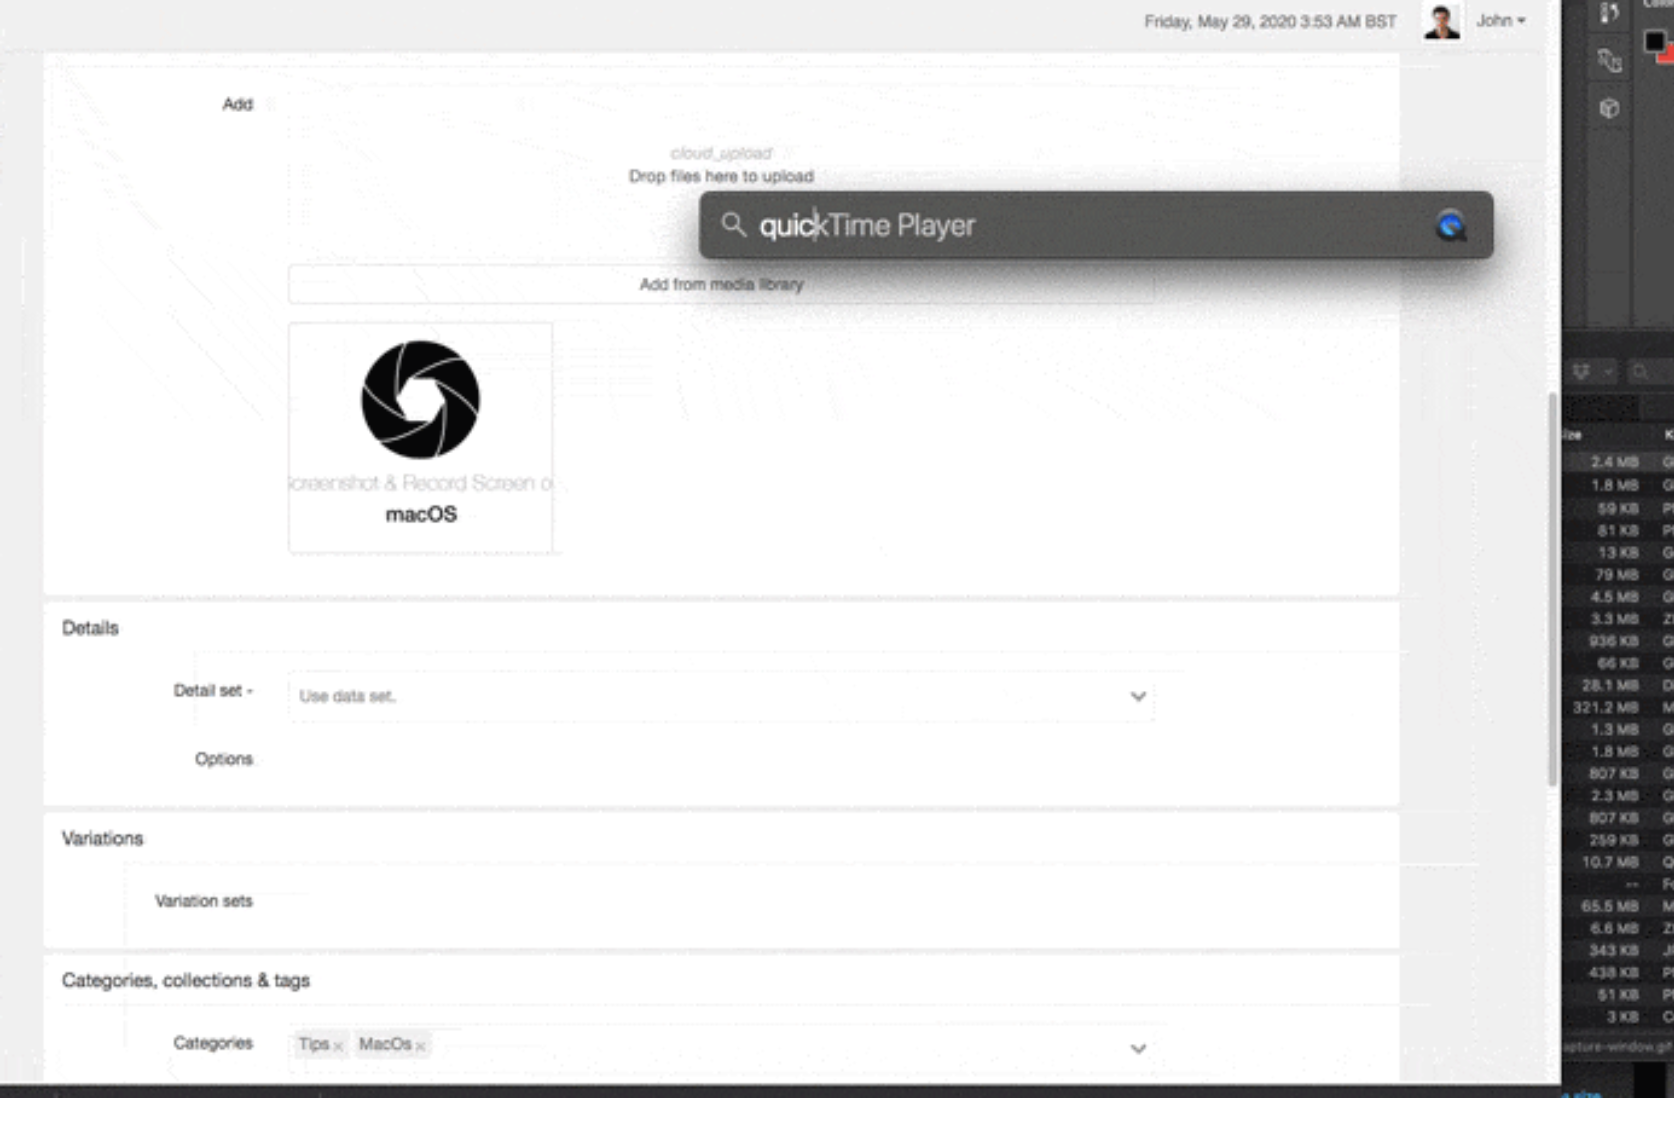
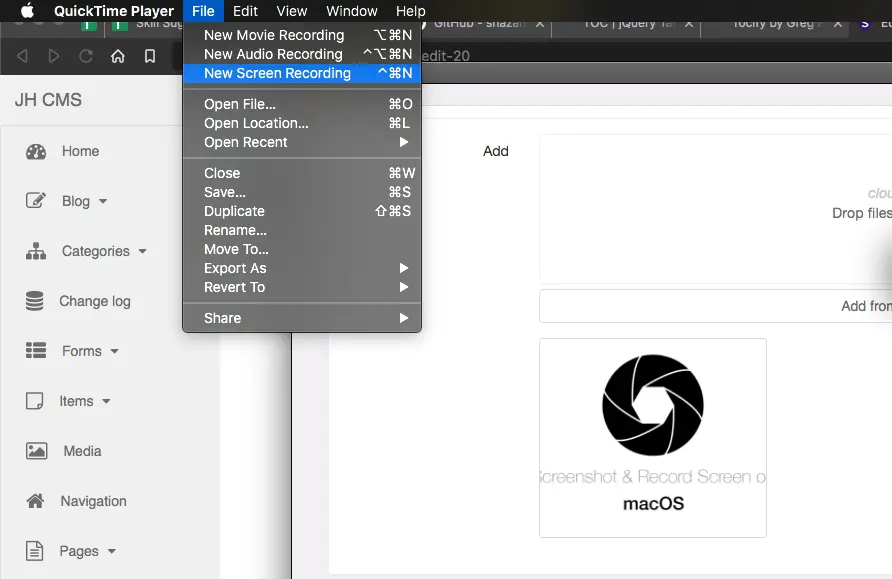
Open QuickTime Player VIA Spotlight search by pressing Command + space and then typing "QuickTime" and hitting enter.
Once QuickTime is open, go to the top left menu, click file and then "New Screen Recording" or use the keyboard shortcut Command + shift + n.
You will see the Screen Recording dialogue appear. To the right of the red record button, you will see a dropdown menu where you can select what audio device to use and whether the mouse should be captured in the recording.
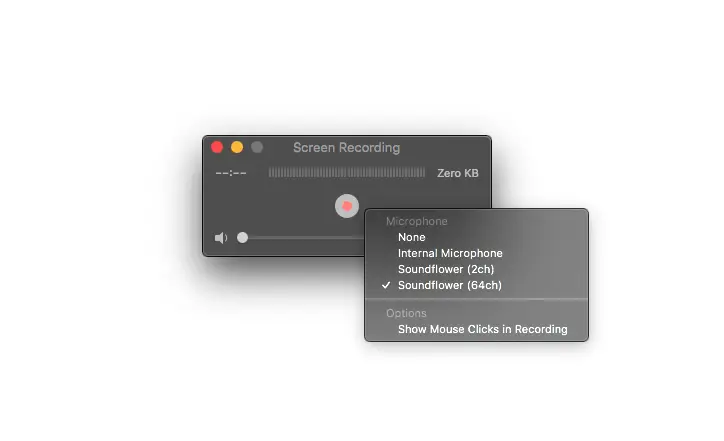
To record audio you should increase the volume from zero using the slider at the bottom of the dialogue.
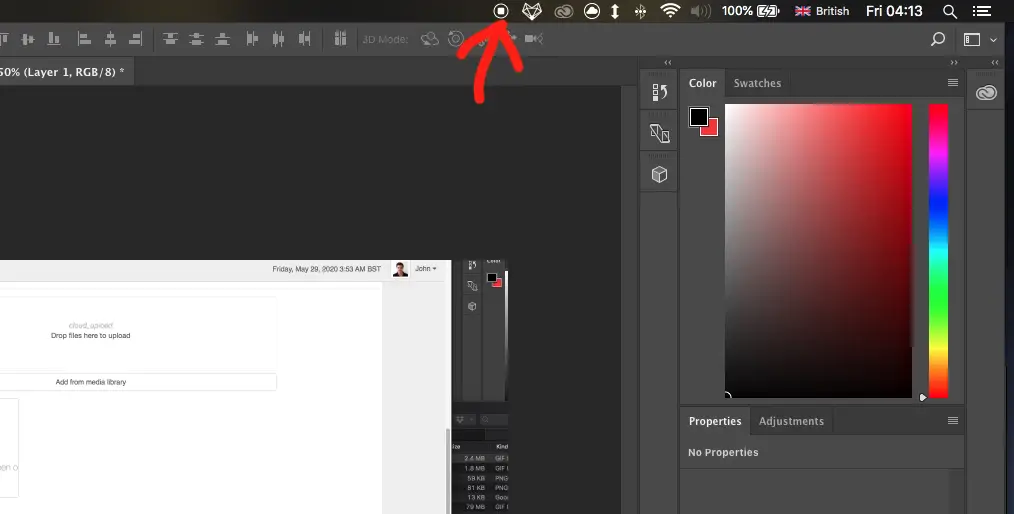
To start recording click the red button. To stop recording click the stop icon located on the right of the top menu bar.
To save your recording press Command + w. You will now be prompted to save the video to wherever you wish. The video file will be a .mov at 60FPS.
Editing
You can even edit the video you have just recorded from within Finder. Just highlight the file in Finder press the space key and then click the clipping icon on the top right of the window that appears.

This is handy if you quickly need to trim the clip, though if you are looking to make more changes you will need to open the file in a video editing program such as iMovie.
How to Record a GIF Screenshot
To record the screen of a Mac to an animated GIF you will need third-party software, here are my two favourites right now.
GIPHY Capture is the best free way to record animated GIF's on a Mac I have found so far. You can record for as long as you want over any area of your screen and no watermarks are placed on your GIF's. You can even trim GIF's and change quality to reduce file size. The only downside is there is no option to capture the cursor.
Gifox is a really neat program that is simple to use and has basically all the functionality you would ever need to capture GIF screen recordings on Mac. The only downside is the free version only supports 10 seconds of recording and a small watermark is placed in the lower left of the GIF.

-1589655824.jpg)